


Product Description
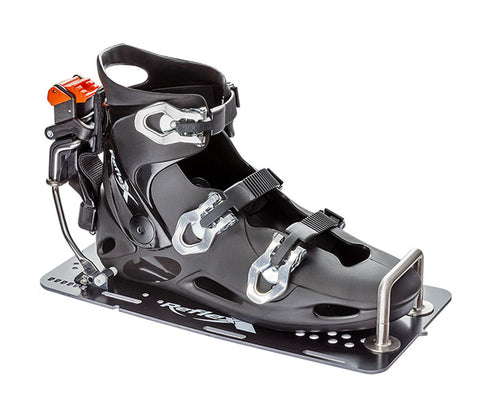
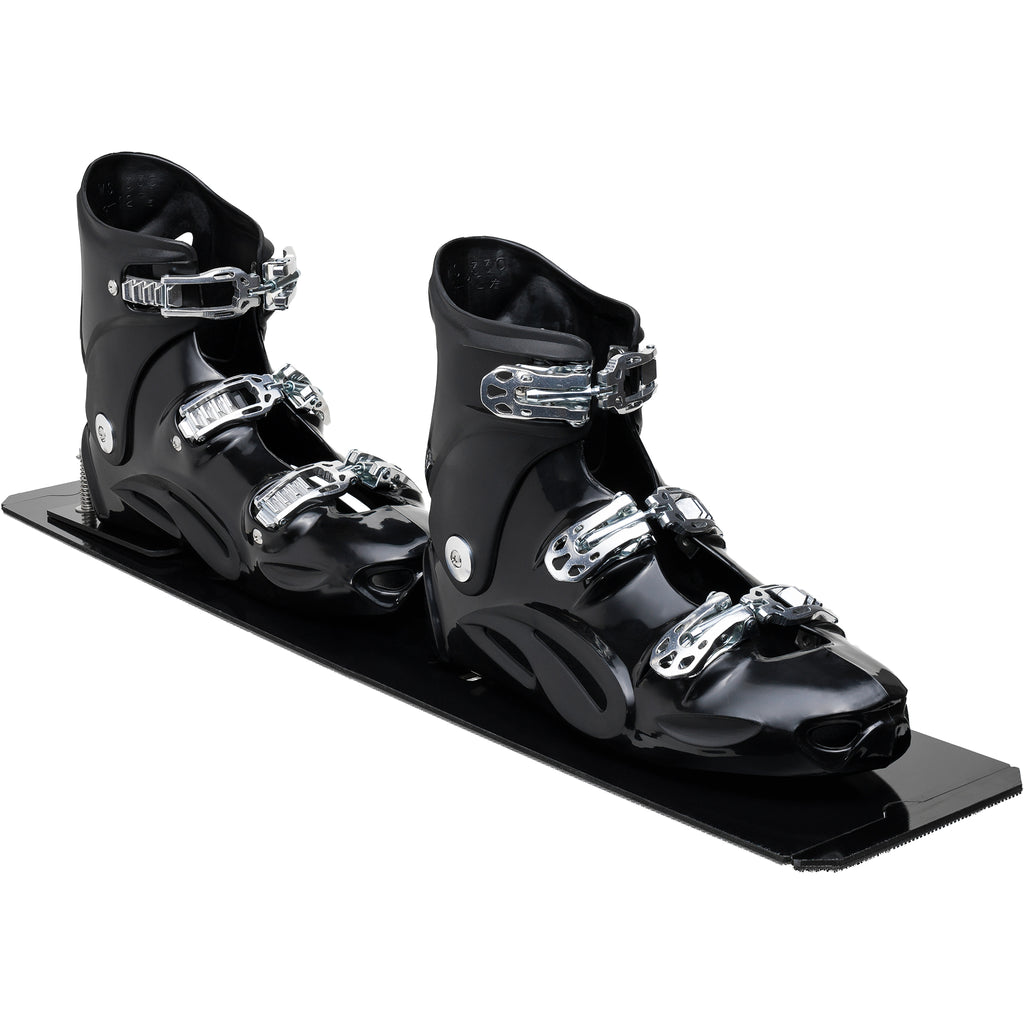
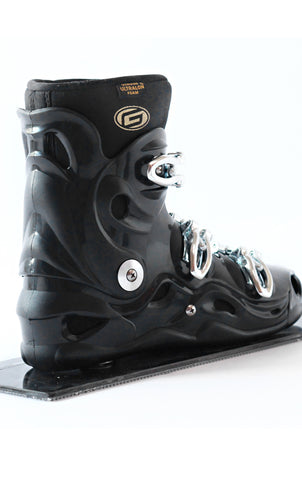
Our newest generation of PowerShell 5™ technology will elevate your performance to a higher level. PowerShell 5™ Boot Systems feature exclusive internally reinforced hard shell lower boots, with micro-metric adjustable alloy wrap buckles, and an aluminum ankle hinge point flex system. Our comfortable Deluxe Moldable Liner, designed in partnership with Intuition®, comes with a pre-formed "heel pocket." This high performance liner offers tongue entry for easier entry, better control, support, and foot ankle flexation.
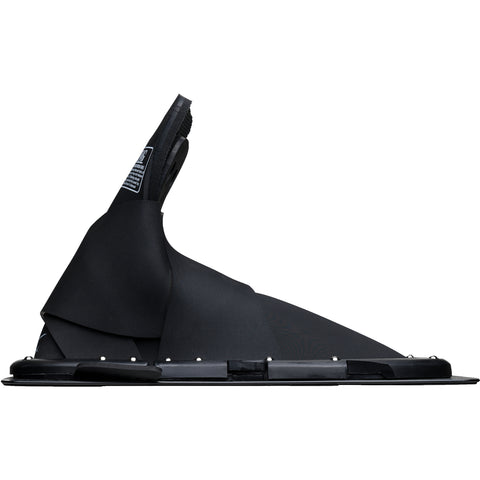
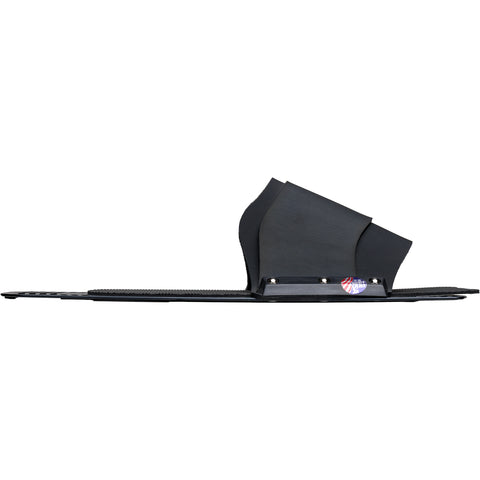
This lightweight boot/binding innovation features exclusive screw-less Interloc™ technology to connect the boot and binding to the ski. InterLoc™ is attached to the bottom of our lightweight G-10 Composite Plate, on which the boot and binding are installed, and onto the top of the ski. This screw-less engineered connection allows the boot and plate to release and separate from the ski if sufficient force is applied during certain fall moments. This system is not however, engineered or guaranteed to release in all types of falls, or in all fall situations, and is not a "safety binding."
Our advanced InterLoc™ connection also significantly improves performance. It allows the ski to "free-flex" under the foot, throughout the turn, and across the back of the boat, because it does not create a negative "flat-spot" on the ski under the foot that blocks ski flex and adversely affects the performance of the ski as do other systems.
PowerShell 5™ technology provides skiers with tremendous individual boot/binding stance adjustability. InterLoc™ accommodates mico-metric fore aft binding movement and placement. Our internal Boot Rotation System provides easy and accurate inset or offset boot and binding angle preference.
PowerShell 5™ systems, with their many features and benefits, combined with our innovative and proprietary ski technology, allows skiers to derive 110% of the maximum performance benefits possible from Goode's unique ski/boot/binding system.
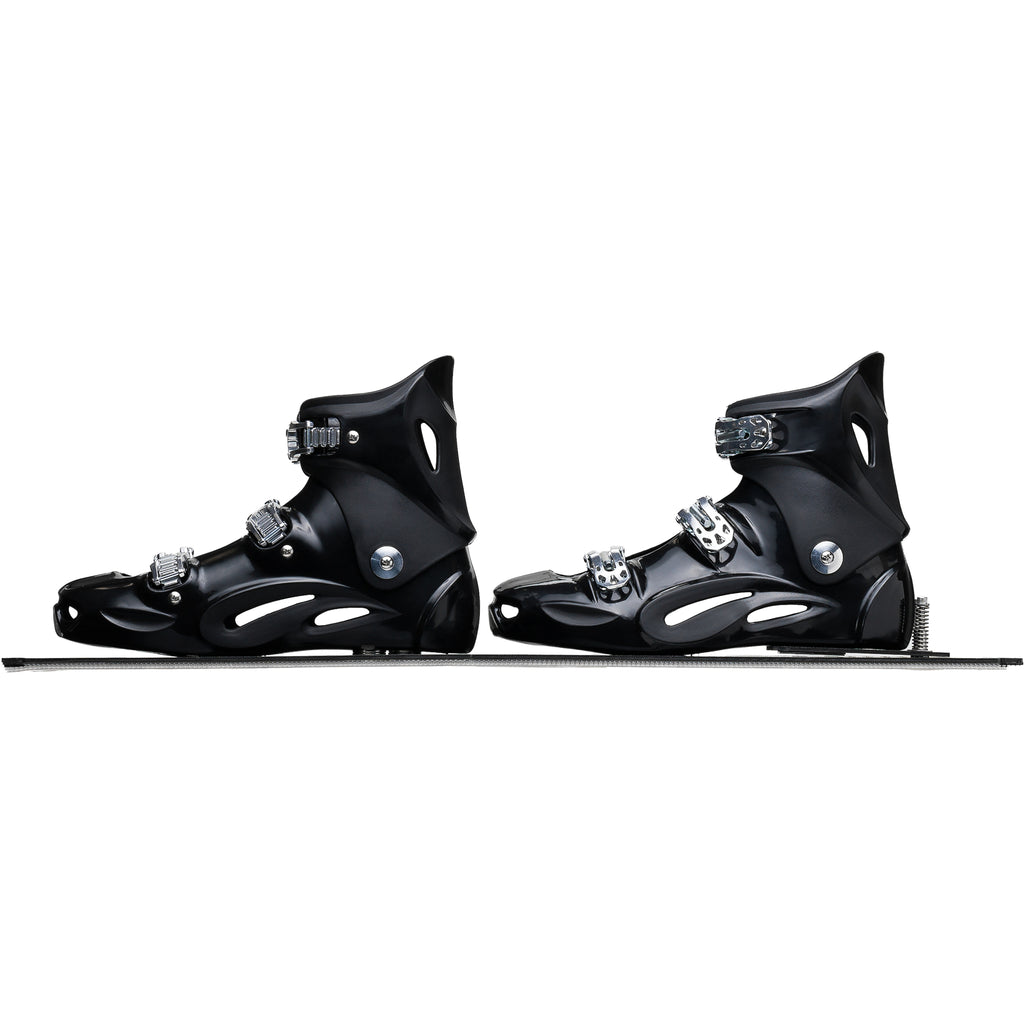
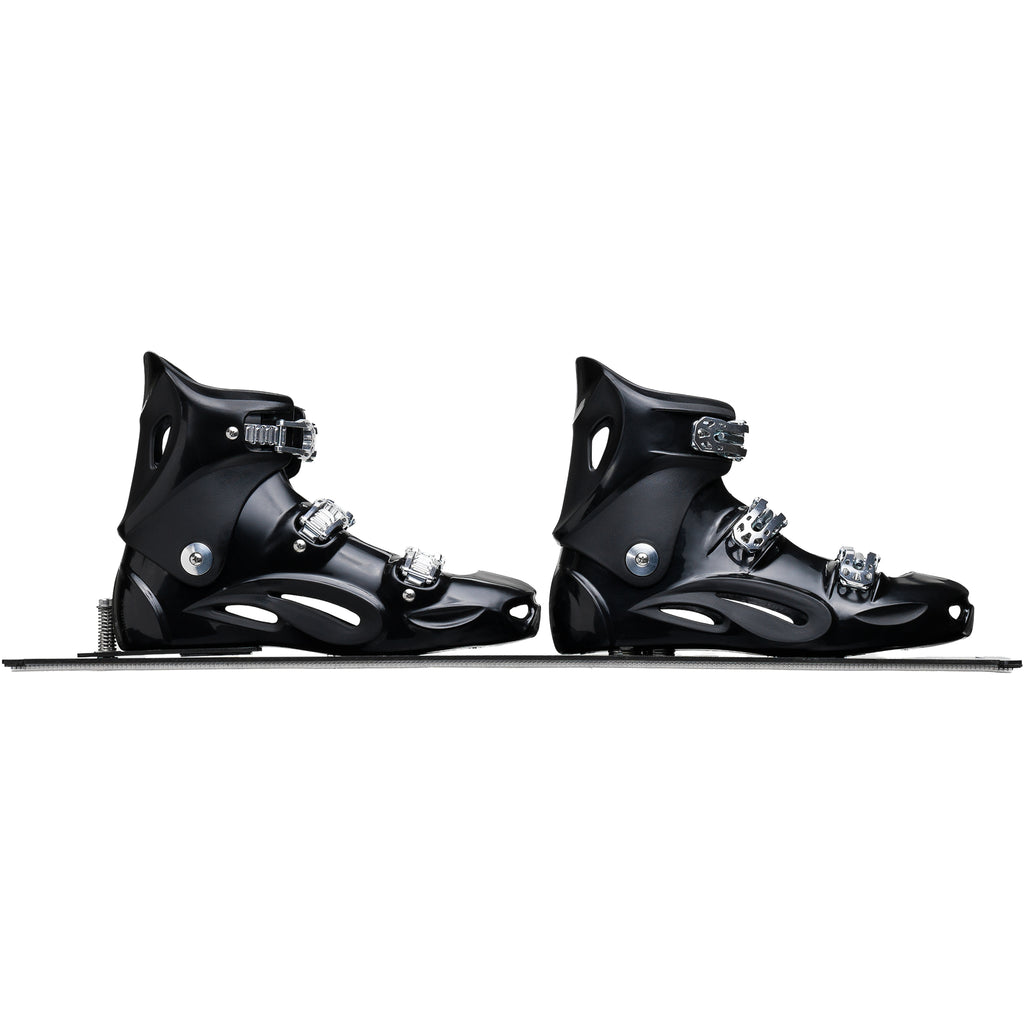
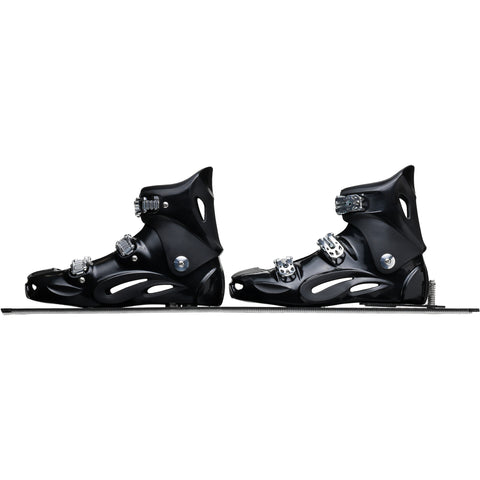
PowerShell 5™ Double Boot System
Front and back internally reinforced hard shell lower boots with alloy buckles and hinge point flex provide better performance and control. They help skiers build and improve angle behind the back of the boat. Front and back hard shell boots are integrated with our Boot Rotation System for individual preference inset and offset angle adjustment. The rear boot features our exclusive Adjustable Double Spring Heel Hold Down System, which allows individual preference rear foot heel rise adjustment for more precise, more perfect edge change. During a release from a fall, the G-10 Composite Plate with both boots attached, may release and separate from the ski via the InterLoc™ system.
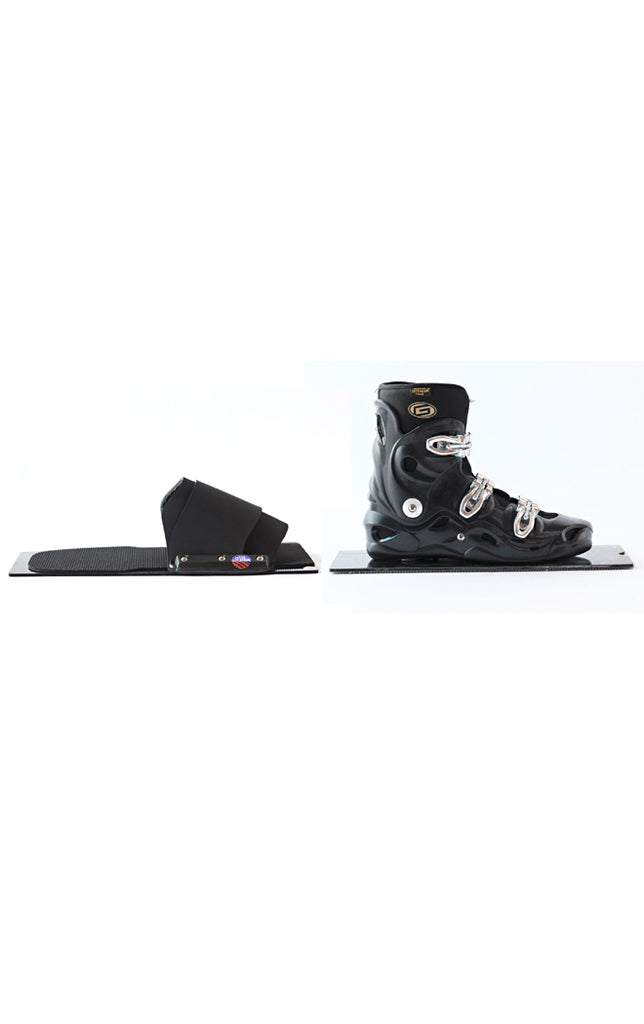
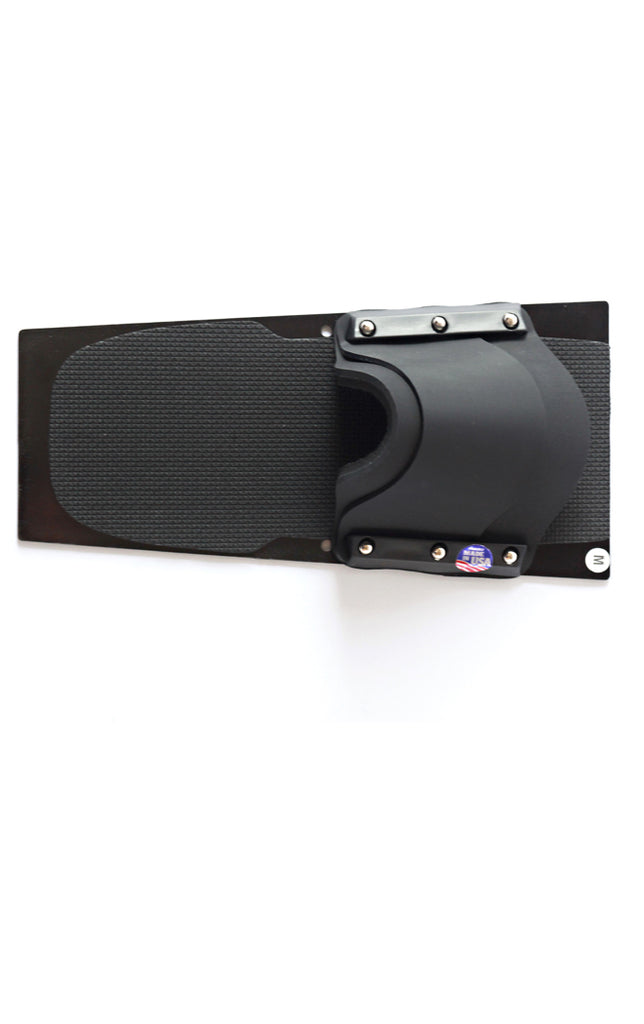
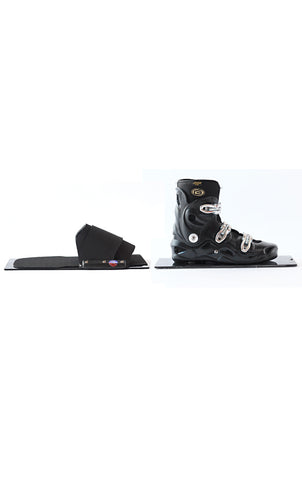
PowerShell 5™ Single Boot System
One front internally reinforced hard shell lower boot with alloy buckles and hinge point flex is combined with traditional rear rubber toe slip. Skiers get better performance, control, and improved angle behind the back of the boot. The front hardshell boot is equipped with our Boot Rotation System for individual preference inset and offset angle adjustment. The front hard shell boot is installed onto a G-10 Composite Plate. The rear toe slip is installed onto a second, smaller G-10 Composite Plate. Both plates are attached to the ski with InterLoc™. During a release from a fall, the G-10 Composite Plate with the front boot attached, may release and separate from the ski via the InterLoc™ system. The rear foot may release from from the rear rubber toe slip as originally designed.
Click HERE for Binding & Fin Settings
*Rear kicker included w/Single Boot System
*Please allow 5 business days for your boot order to ship*
BOOT SIZING CHART

* Includes a 1 year manufacture and material warranty. Does not cover neglect or miss-use.