Skip to content
Search
Home
Account
FREE U.S. GROUND SHIPPING ON ORDERS OVER $150-USE CODE FREESHIP
Close
Search
Search
Login
Cart
(0)
Site navigation
Search
Search
Cart
(0)
Menu
Site navigation
Home
Item added to cart.
View cart and check out
.
Close
Close
BINDINGS/BOOTS
Filter by
All
Boots
Reflex
Water
Sort by
Featured
Most relevant
Best selling
Alphabetically, A-Z
Alphabetically, Z-A
Price, low to high
Price, high to low
Date, old to new
Date, new to old
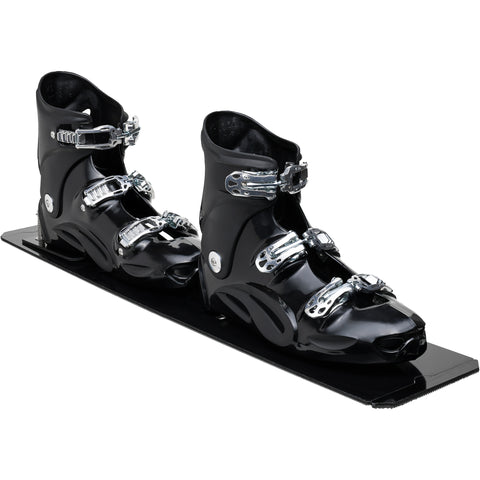
Goode PowerShell 5™ System
From $560
View
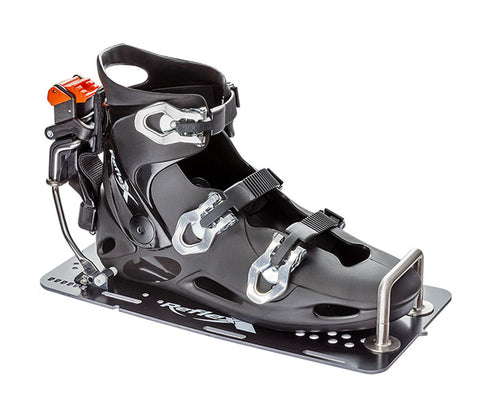
Reflex Classic Slalom Binding
Regular price
$549
View
Reflex Rear R-Style Hardshell Binding w/ G10 Plate
Regular price
$233
View
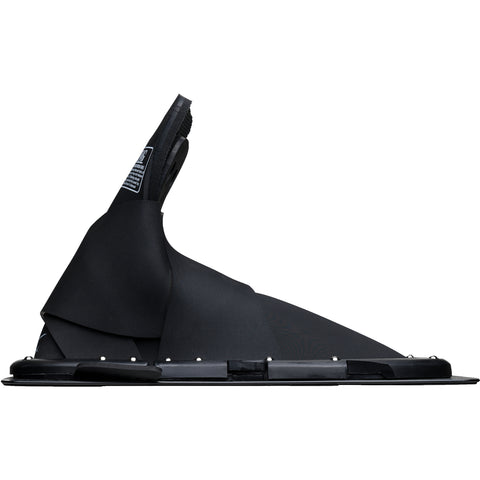
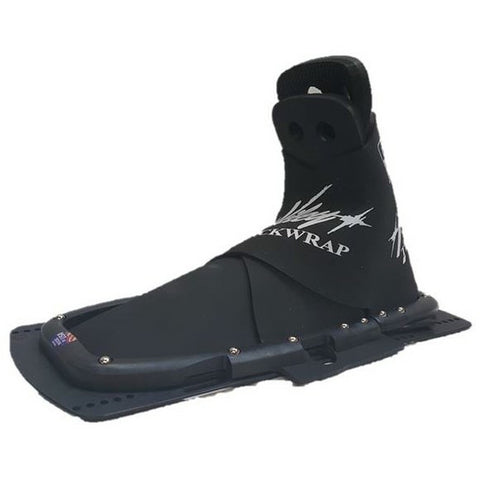
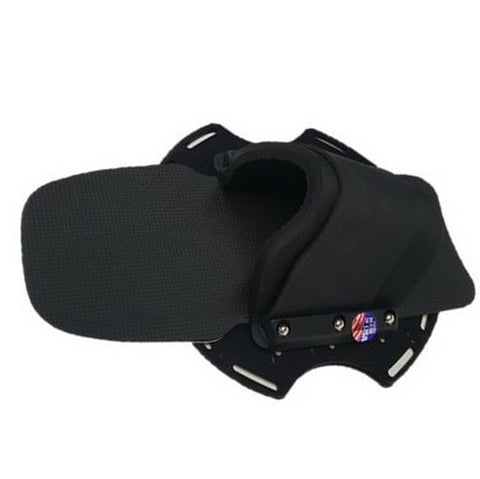
Goode High Wrap Rubber Boot
From $300
View
Goode Rubber Rear Toe Slip
Regular price
$140
View
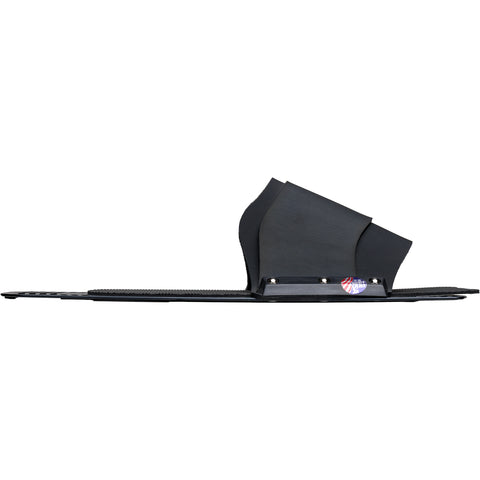
Front Trick Binding on Universal Plate
Regular price
$265
View
Rear Trick Toe Slip on Pro Plate
Regular price
$95
View
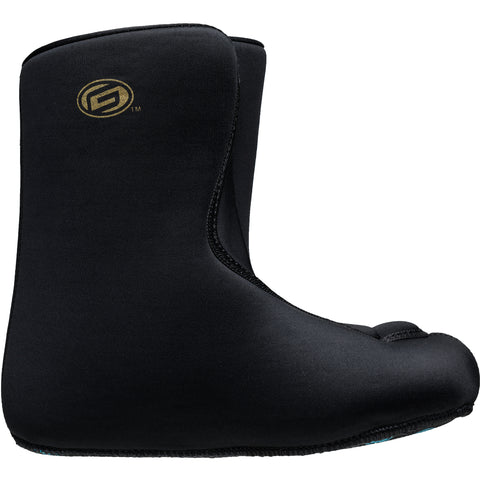
Goode Deluxe Moldable Liners
From $100
View
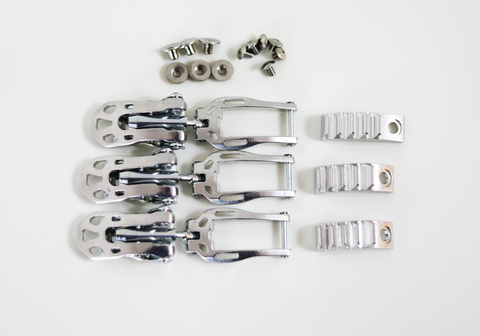
PowerShell Buckle Kit
Regular price
$50
View
Goode 3m Interloc (per Foot)
Regular price
$7
View
Choosing a selection results in a full page refresh.
Press the space key then arrow keys to make a selection.
Use left/right arrows to navigate the slideshow or swipe left/right if using a mobile device